Building Your Fence
Six simple steps to building your Waratah fence

1. Plan & clear your line
After designing your fence on paper, it's time to build it. First, determine where exactly your fence needs to go, then prepare a line and clear if necessary. Consider pressure points such as stock camps, water ways along with site contours, erosion, and soil type.
2. Erect strainer assemblies
Your Strainer Assemblies (otherwise known as "end assemblies") form the foundation of a good fence. Determine the number required and their location, as well as the depth and anchoring, as this is an important part of making your fence strong and long lasting. This is a time to consider if and where any gates are to be installed.

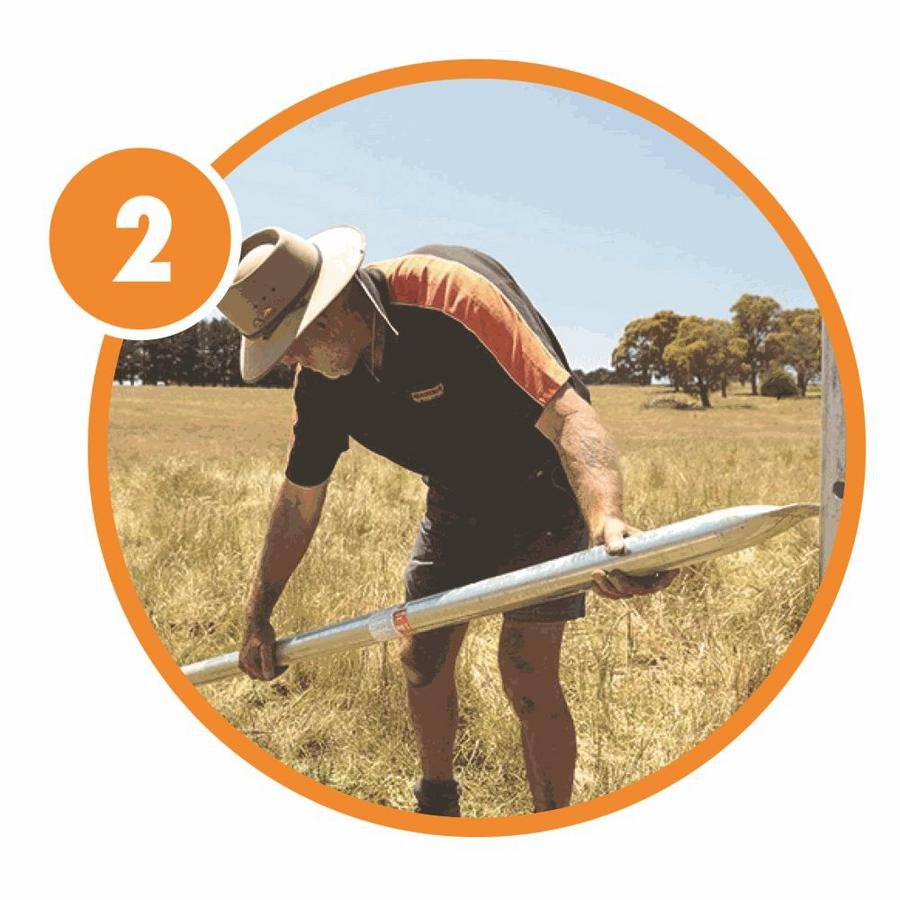
3. Lay out your posts
Strain a sight wire close to the ground and lay your posts at a pre-determined spacing by ‘stepping out’ along the fence line. A straight fence line minimises pressure points. Including JIO ™ MaxY ® posts in your fence line will ensure a stronger fence due to their increased strength and better ground holding ability, particularly in softer soils.
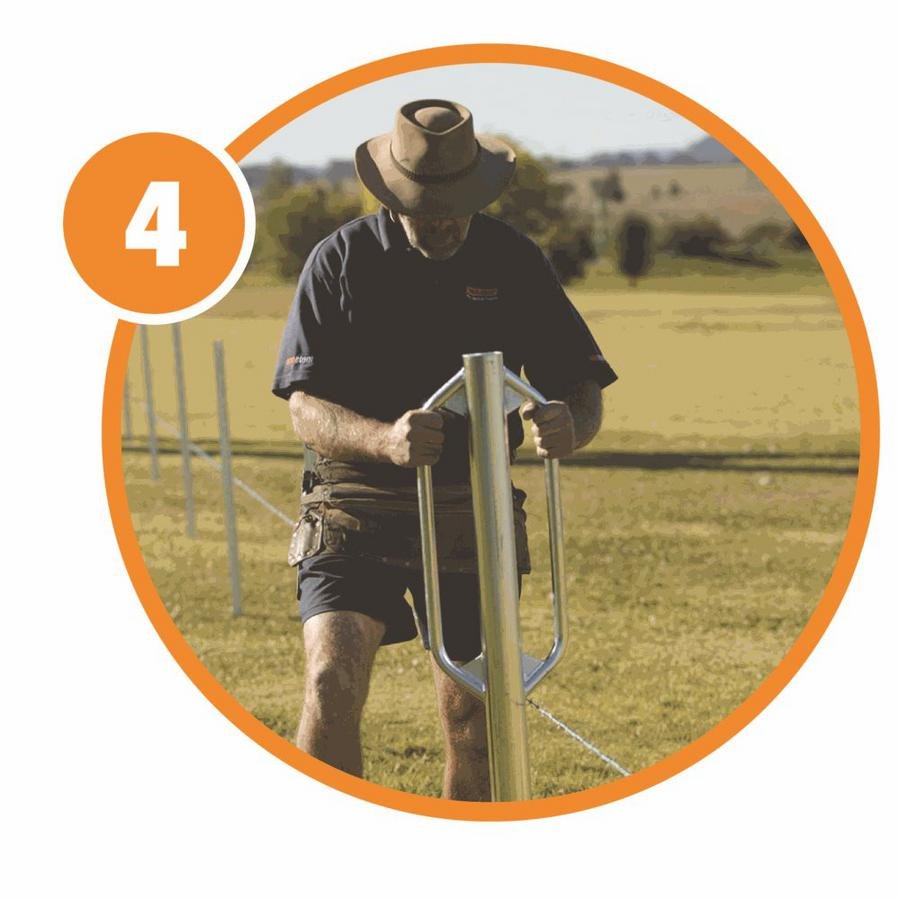
4. Drive in your posts
Drive in JIO Star ® and JIO MaxY fence posts with a Star 80NB post driver or Thumpa ® pneumatic Star post driver – check depth and position as per your fence line.
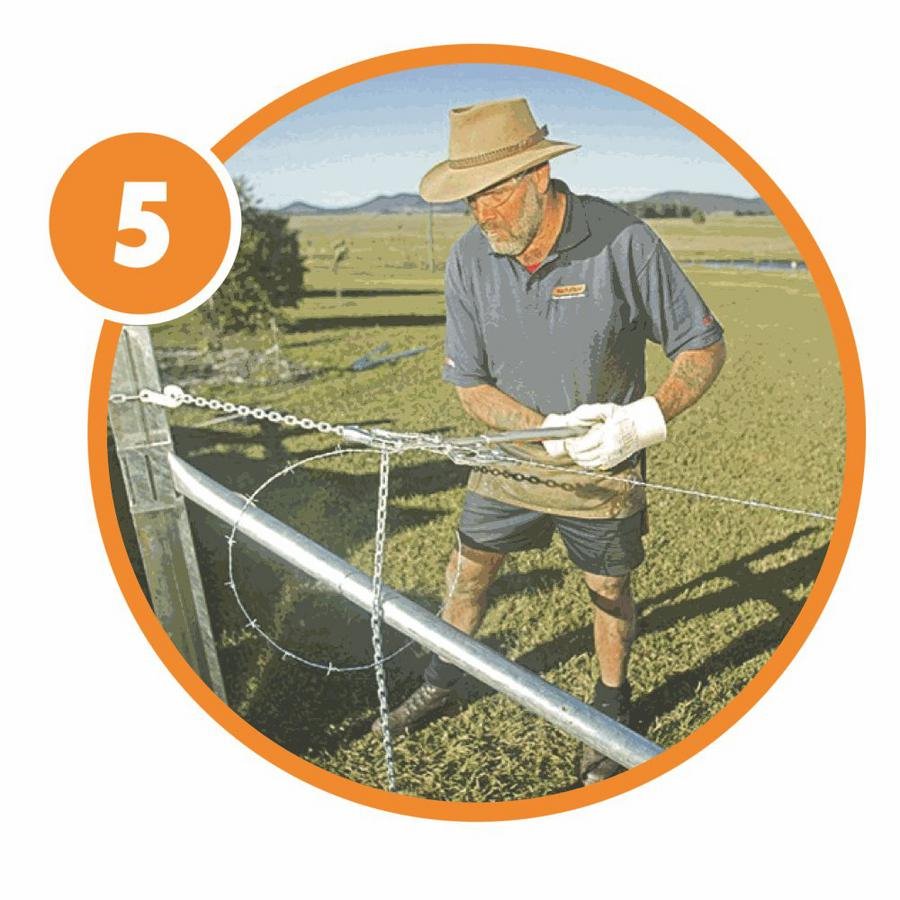
5. Strain the wire
Attach the wire to be used in the fence to one strainer assembly, then using a Wizard ® wire strainer and/or Wedgelock clamp (for pre-facbricated wire), strain the wire at the other strainer assembly. Check tension with a Tenser Senser ® . Over tension slightly as you’ll lose some tension when tying off. Tie-off, remove the wire strainers and/or Wedgelock clamp.
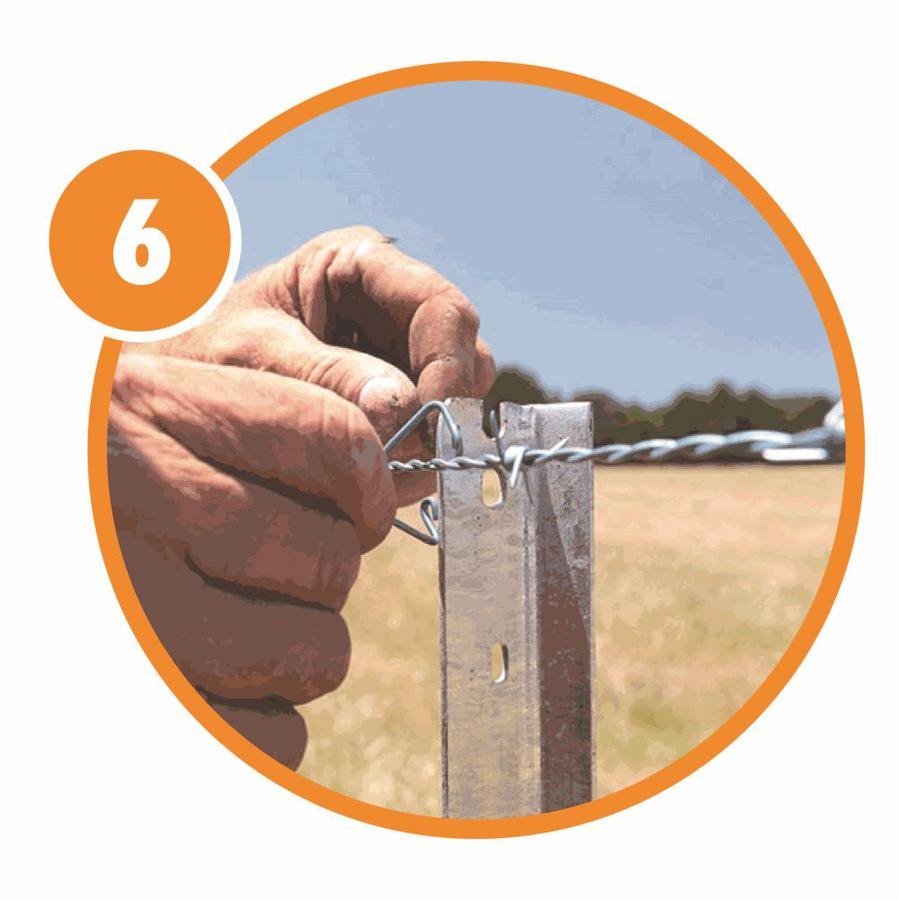
6. Attach the Wire
Fixing the wire is easy using JIO Longlife ® Star post clips (these are up to 20% faster than other methods). Star post clips or Longlife cut length tie wire can also be used. By using quality products and the right accessories from Waratah, it’s easy to finish with a professional job even if you’ve never built a fence before.
Options for Tying Off
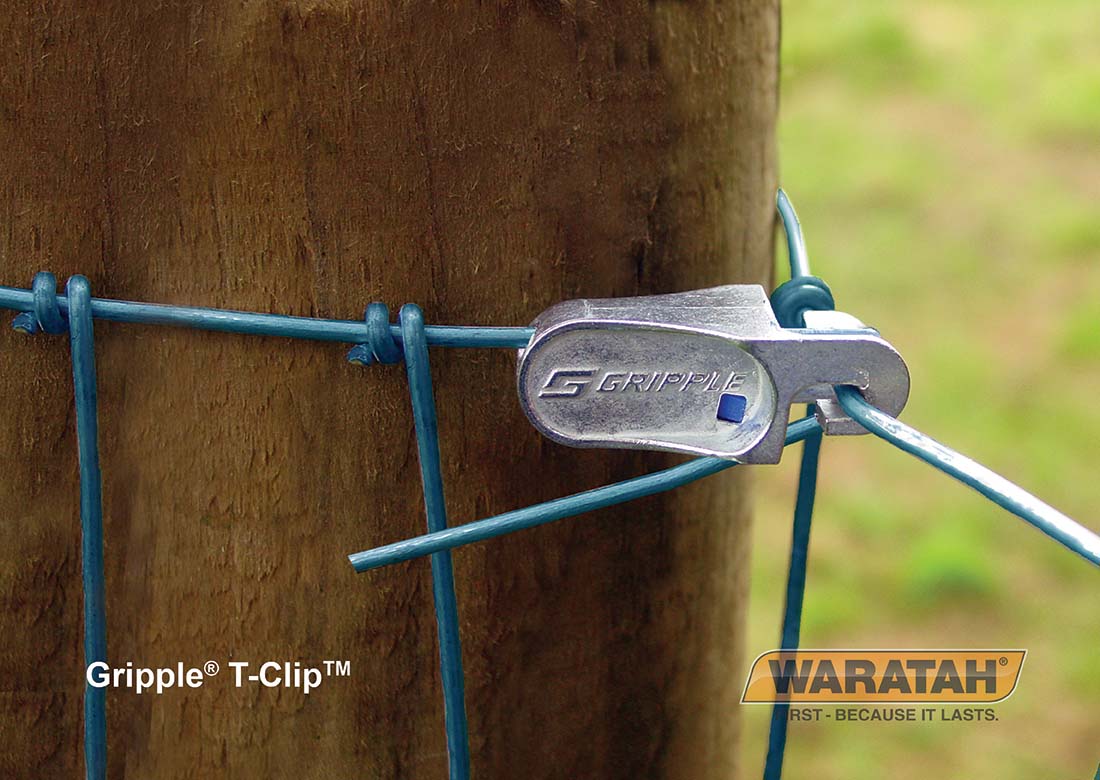
A. Use a Gripple ® T Clip
Gripple T-Clip is a great alternative to tie off wire around strainer posts without the need for knots, saving both time and labour.
- Ideal for use on pre-fabricated fencing and plain wire
- Recommended for use on round posts
- The T-Clip can be used at either end of the fence line to tie-off wire
- Wrap your wire around a strainer post, pull the wire through the Gripple
- Clip and pull tight around the post
- No need for twisting, knots or staples
- Allows consistent replication and is up to 5 times faster than a manual tie-off
- Suitable for wire diameters ranging between 1.80–3.25mm
B. Tie a knot
Knot tying is a crucial skill in building a great fence. Follow this method and you can’t go wrong.
- Pull the wire tight around strainer post, then pull the excess wire underneath the main line wire and loop it over and down through the space between the strainer post and the wire. Pull tight.
- Pull the wire upwards and back over the main line wire.
- Wrap the wire tight around the main line wire
- Wrap the wire around the main line wire 3 times to complete the knot and remove excess wire